
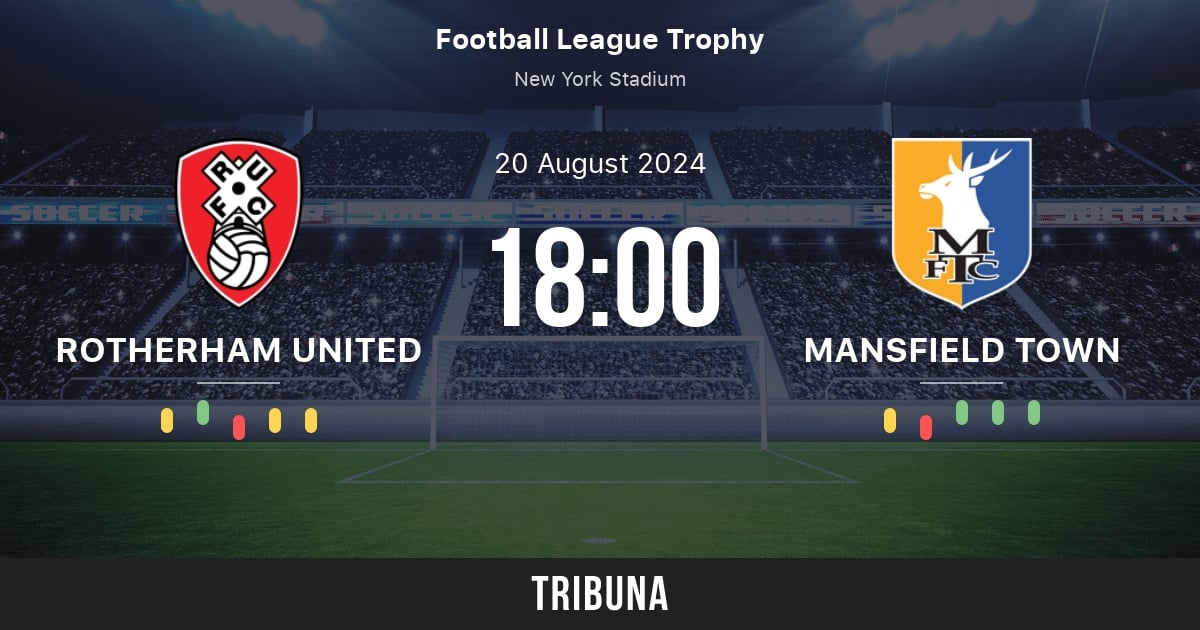
The match between Rotherham vs Mansfield Town is a fixture that has always intrigued football enthusiasts, particularly those with a keen eye on lower league football. Both teams bring a rich history and a passionate fan base to the pitch, making every encounter a fiercely competitive affair. In this article, we delve deep into the recent match between these two sides, analyzing the tactical nuances, key moments, and the broader implications for their respective seasons.
Team Form and Pre-Match Expectations
Rotherham United’s Recent Form
Rotherham United, a team with a solid reputation in League One, came into this match with high expectations. Known for their disciplined defense and quick counter-attacks, Rotherham’s form in recent weeks had been somewhat inconsistent. However, with key players returning from injury, there was a renewed sense of optimism among the Millers’ faithful.
The team’s strength lies in its ability to press high and force errors in the opposition’s half. Their midfield, often orchestrated by their captain, has been pivotal in both breaking up play and initiating counter-attacks. The pre-match buzz centered around whether Rotherham could maintain their defensive solidity while also posing a significant threat going forward.
Mansfield Town’s Tactical Approach
Mansfield Town, on the other hand, had been enjoying a purple patch leading up to this encounter. The Stags, known for their fluid attacking play and a midfield that can dominate possession, were tipped by many to give Rotherham a tough game. Their manager had emphasized the importance of controlling the tempo and exploiting spaces on the flanks, where Rotherham had shown vulnerabilities in previous matches.
Mansfield’s attack, led by their prolific striker, has been one of the most potent in the league. The key question was whether they could break down a well-organized Rotherham defense and capitalize on the few chances that would inevitably come their way.
Key Moments in the Match
First Half: A Tactical Chess Game
The first half of the match was a cagey affair, with both teams cautiously feeling each other out. Rotherham, true to their form, pressed high from the start, forcing Mansfield into early mistakes. However, Mansfield’s midfield trio managed to regain control, slowing the game down and dictating the pace.
One of the pivotal moments of the first half came in the 25th minute when Rotherham’s left-back made a surging run down the flank, whipping in a dangerous cross that just evaded the onrushing forwards. This was a clear indication of Rotherham’s intent to attack the flanks, a strategy that would continue throughout the game.
Mansfield, though under pressure, remained composed and nearly broke the deadlock with a long-range effort from their captain. The shot, which was heading for the top corner, was spectacularly saved by Rotherham’s goalkeeper, a moment that drew applause from both sets of fans.
Second Half: Goals, Drama, and Tactical Adjustments
The second half started with Mansfield taking a more aggressive approach. They pushed their full-backs higher up the pitch, creating overloads on the wings, which began to stretch Rotherham’s defense. This tactical shift paid off in the 55th minute when Mansfield’s right winger cut inside and delivered a pinpoint cross, which was met by their striker with a powerful header, giving Mansfield the lead.
Rotherham responded almost immediately, making a couple of substitutions that added fresh legs to their attack. The introduction of a second striker changed the dynamics of their play, allowing them to play more direct. This tactical tweak bore fruit in the 70th minute when Rotherham equalized through a well-worked move that saw their striker slot home from close range after a defensive mix-up by Mansfield.
The final 20 minutes were a frantic end-to-end affair, with both teams having chances to snatch a winner. Rotherham came closest in the dying minutes when a thunderous shot from their midfielder rattled the crossbar, much to the relief of the Mansfield defense.
Tactical Breakdown: What Worked and What Didn’t
Rotherham United’s Pressing Game
One of the standout aspects of Rotherham’s play was their pressing game. They successfully forced Mansfield into making errors in their own half, particularly in the first half. However, as the game progressed, their press became less effective, partly due to Mansfield’s tactical adjustments and partly due to fatigue.
Rotherham’s decision to switch to a more direct style of play in the second half was a smart move, as it allowed them to bypass Mansfield’s midfield and create more goal-scoring opportunities. However, their inability to convert these chances into goals is something that the coaching staff will need to address.
Mansfield Town’s Wing Play and Midfield Dominance
Mansfield’s strategy to exploit the flanks was a key factor in their ability to stretch Rotherham’s defense and create goal-scoring opportunities. Their wingers were constantly involved, and their crosses into the box caused all sorts of problems for Rotherham’s backline.
Moreover, Mansfield’s midfield trio played a crucial role in controlling the game’s tempo. Their ability to maintain possession and dictate the pace of the game was evident, particularly in the second half when they took the lead. However, their vulnerability to quick counter-attacks was exposed, something that other teams may look to exploit in future games.
Player Performances and Standout Moments
Rotherham United
- Goalkeeper: The Rotherham goalkeeper had a solid game, making several crucial saves that kept his team in the match, particularly in the first half.
- Defenders: The defensive unit was largely solid, though they struggled at times to cope with Mansfield’s wingers. The left-back’s attacking forays were a highlight, though they did leave spaces behind that Mansfield nearly exploited.
- Midfielders: The midfield battled hard, with the captain leading by example. Their pressing was effective in the first half, though they tired as the game wore on.
- Strikers: The strikers worked tirelessly but were often isolated, particularly in the first half. The introduction of a second striker in the second half made a significant difference.
Mansfield Town
- Goalkeeper: The Mansfield goalkeeper was largely untroubled but was beaten by a well-taken Rotherham goal. His distribution was excellent, often initiating counter-attacks.
- Defenders: The defensive line was well-organized, though they had a couple of nervous moments under Rotherham’s high press. The center-backs were particularly strong in aerial duels.
- Midfielders: The midfield trio were the standout performers for Mansfield, controlling the game’s tempo and linking up well with the forwards.
- Strikers: The striker’s goal was a result of intelligent positioning and a powerful header. He was a constant threat and caused problems for the Rotherham defense throughout the game.
Conclusion: What This Means for Both Teams
The 1-1 draw between Rotherham United and Mansfield Town was a fair reflection of a game that was evenly contested. Both teams showed their strengths but also revealed areas that need improvement as they look ahead to the rest of the season. For Rotherham, the key takeaway is the need to convert chances into goals, while Mansfield will need to address their occasional defensive lapses if they are to maintain their upward trajectory.
As both teams continue their campaigns, this match will serve as a valuable learning experience, highlighting the fine margins that often separate victory from defeat in football.
Comments are closed.